Thursday, February 3, 2011

Chaos Castle Pt. 1 - Structure

What fantasy/sci fi world is complete without a glittering castle, polysteel bastion, fortified artillery position, dark ziggurat or twisted alcazar with all the trimmings? The answer is none, in case I hadn't clued you in to the rhetorical nature of that question. With this in mind I've been planning to show you how to build one for quite a while but wasn't quite sure what I wanted to make - castles/strongholds make very large terrain items and can be hard to store, so it's unlikely that it'll be too large, too tall or that you'd have more than one (unless they were small keeps or the like, or if you had a massive room/shed/real castle to house them in). Pondering this I decided that I wanted the castle to fit in with my recently made terrain board set - stony, cold, very little life, god(s) forsaken, constantly stricken with bizarre weather events and so on.

Deciding that I was spending too much time idly thinking I went to work about the house, cleaning out the spare room and garage so as to appease the lords of domesticity. Just as I was considering what I was going to make my castle from I came across a couple of boxes with polystyrene liners - remnants of some recently purchased electronic goods. Lining them up next to the recycling bin I decided to take a closer look. After pulling them apart I could see a future in these polystyrene lumps and subsequently saved them for the construction of my new edifice. If you don't have polystyrene suitable for your building/castle/dungeon/giant pants I recommend that you chat with your local electronics store or tech college - they usually have a tonne of this stuff and rarely do they have any use for it.


Before putting the pieces of the castle together there was a bit of work to be done. Each piece had to fit perfectly at a 90 degree angle to the others, so some cutting was required. When cutting polystyrene there are a couple of methods - the most popular being the 'bread knife' and 'hot wire' techniques. I used the former but many swear by hot wire cutters, they tend to be cleaner and very fast (but create a terrible smell). Using a bread knife is slower and you have to be careful not to tear chunks off, it is also a bit messy but it's the cheaper option (assuming you have a serrated/bread knife) and works perfectly well. Before you cut make sure that you've got the angle correct - once cut there is no going back.


NOTE:
If using a knife don't push or force it through - use a gentle sawing motion instead, let the serrations do the work. If you're using a hot wire cutter make sure that you're cutting on something not likely to melt/burn easily. For both method make sure you're outside - the hot wire will make a horrible smell and the knife will leave a mess (I cut with a plastic bag beneath the polystyrene as it captures all the waste and makes life much easier).


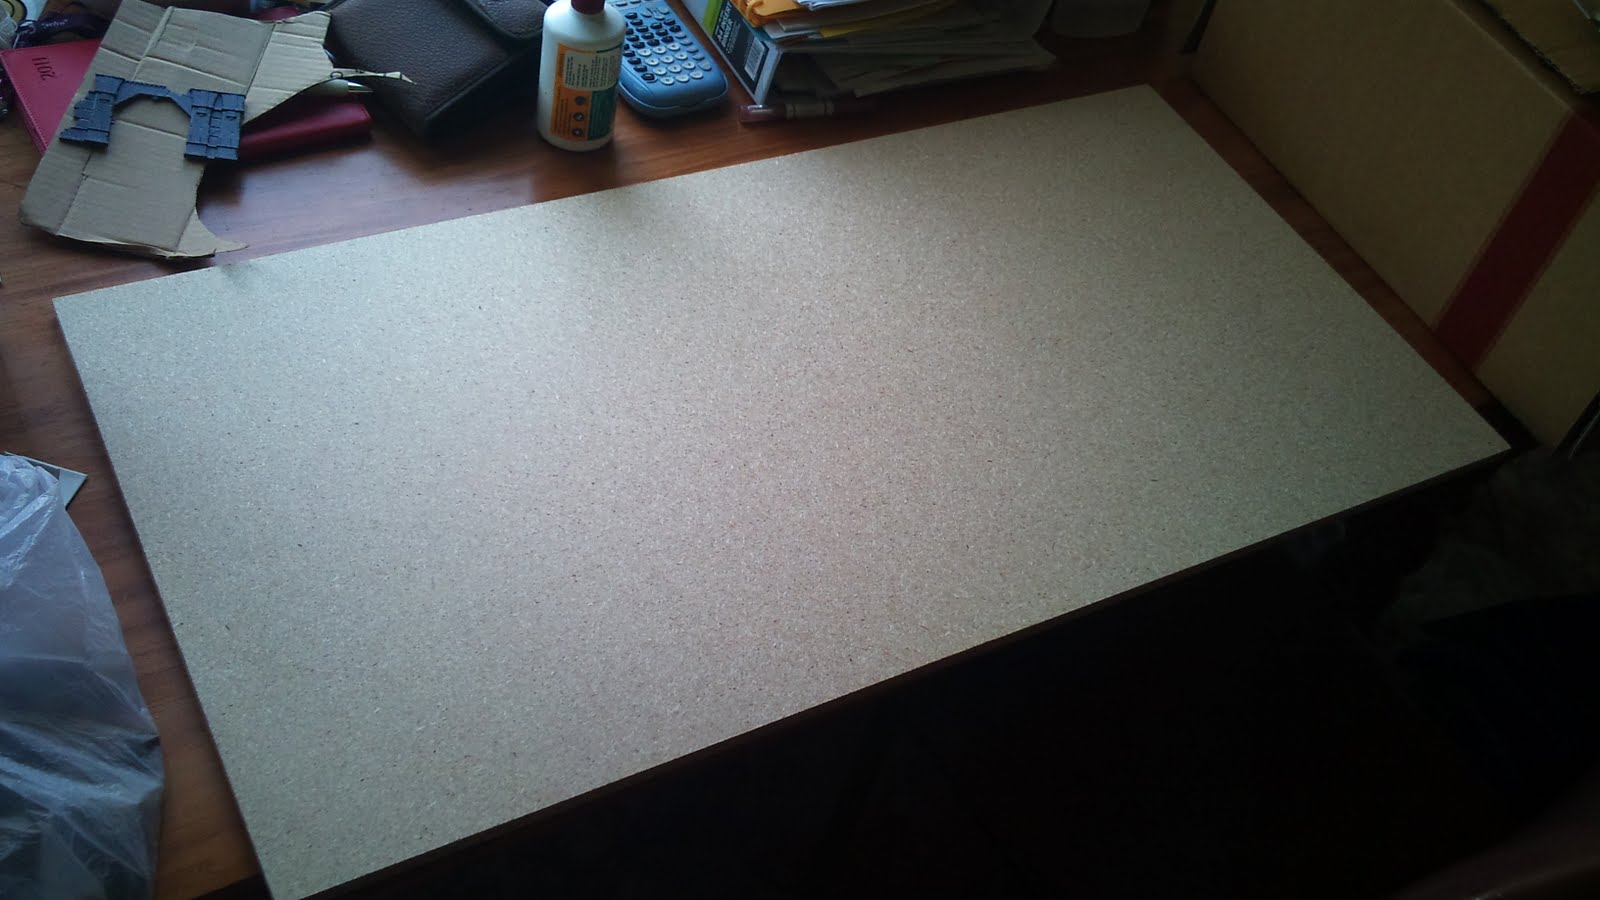
Above: All angles correct and ready to put together.

Once all the cutting was done it was time to line up the pieces and see how they fitted together. To do this I used a few double pointed toothpicks, though you could use cocktail sticks, skewers or anything similar. Stick a couple on each surface to be joined and then carefully slide them together. Make sure that you do this BEFORE you add any glue, else you won't be able to change them around/modify them.


Above and Below: If you look closely you'll notice that there are some rough parts inbetween the 'pillars' at the front - the same goes for the pieces of the side. This is where I've used to knife to flatten unwanted protusions off, making the walls look more consistent. I'll be using filler later to smooth these over, give the foam some texture and to ensure that the foam doesn't melt when I undercoat it (more about that in another installment). The small pieces of foam in front are parts that I cut off of the pieces of foam that I didn't want - they're going to help by continuing the line of the half pillars and filling the gap.


Below: The final product. I was excited about how this was going to turn out but now I'm psyched - unpainted and factory white it's looking cool, but once it's rendered, detailed and painted it'll be a different ball game altogether. In keeping with the spirit of how I believe this hobby should be approached there will be as much recycling and as little monetary expenditure as possible, relying instead upon creativity and items we all have lying around (though I am going to scrounge through my parts box for quite a few bits and pieces).


In case you were wondering the back of the castle is not going to be a wall...


The next installment will demonstrate how to base, add detail and get the castle ready for painting.

Cheers!

Sunday, January 30, 2011

Making your own Terrain Boards - Update

Following on from the Terrain Board tutorials I thought I'd show you yet another that I've made. This one has a bit more detail - a corpse bereft of flesh, a bloody sacrificial altar and some pikes for good measure.

The method I use to make larger hills and the like involves cutting up many pieces of thick cardboard into a manageable size (100 x 50mm [4" x 2"] roughly), slathering them in PVA and putting them together in a 'lattice' layout. Layering them in this manner makes for flexibility, strength (basic engineering at work here) and simplicity. You could just cut out the cardboard in the shape of the hill and layer them that way but I find that this method is faster, easier, stronger and uses less card. It's entirely up to you though.


Below: This shows the layers of the hill being glued in place. Add layer upon layer until you're happy and make sure that you use plenty of glue and give it time to dry (overnight is perfect). Oh and yes, that is a big (real!) rock on one end of the hill. I only used PVA and a little filler to hold it in place, simple.


Below: To get a nice finish on top I put a large piece of card. This isn't necessary but I wanted a nice, smooth platform which only needed a skim coat of filler.


Below:
An example of what happens when you put on filler too thick. You can fix this fairly easily by putting on a skim coat to fill the cracks but try to avoid it where possible as it can make it more prone to dislodge and flake off.


Below: The completed boards, all ready to be undercoated. Remember to give your boards plenty of time to dry before undercoating.


Below: The pikes were made from bamboo skewers and the altar is a piece of balsa wood cut, slashed and chipped randomly (using a modelling knife) with a Chaos standard taken from my bits box (which was also cut/slashed with the knife).

SAFETY NOTE: Be careful when using a modelling knife and make sure you're cutting AWAY from yourself, where possible cutting on to a chopping board, modelling mat, used thick magazine or similar. You're going to cut yourself eventually - the skill is in making sure you don't cut yourself seriously.


Below:
The undercoated board, ready to go.


Below: The completed board ready to have detail added. The skeleton was painted using Bleached Bone and final highlights of white.


Below: All done. The skeleton had some Chestnut/Flesh wash applied, supplemented by a few select splotches of a mix of Blood Red, Crimson and Chestnut wash highlighted with straight Blood Red. To get the clotted blood effect on the altar I applied the same mix really thick and applied a couple of coats, making sure there was enough to form a couple of drips. The Chaos symbol on the rock used the same mix again with a touch of Purple to give it a magic/surreal effect.


Below: I painted some foot/knee/hand prints on the right to show someone who tried to get away whilst bleeding heavily.


Again this board cost less than $10 to make (excluding the skeleton and Chaos symbol).

Cheers!

Saturday, January 29, 2011

Make your own Steampunk Nerf Maverick and CS-6 Guns (also known as 'A lapse in concentration')

Though not technically related to this blog I felt that I should add this, safe in the knowledge you will approve of such deviant content.

For those of you who are not aware, 'Nerf' is a Hasbro brand (to which I am in no way affiliated) of wonderfully pointless toys designed to allow children and adult-children (henceforth known as childults) to shoot one another with foam darts. Being that I'm a childult I was compelled to purchase one for both myself and my partner who was almost more excited than I was to have her very own Nerf pistol.

After getting home and wrestling our respective Nerf guns from their boxes, a half hour skirmish ensued - adult chasing adult with scant regard for knick-knack, item of memorabilia or tumbler glass. Later reflecting upon our chase we determined that it was much fun, 'But wouldn't it be cooler if they made Steampunk Nerf guns?' crooned my out-of-breath significant other. Turning to meet her enthusiastic smile I made an astonishing discovery: that Steampunk Nerf guns would be awesome, and how good was I for having thought of them? With this in mind I told her that 'I will make for us now Steampunk Nerf guns, so that we may use them and smile!'. Hence from that place I went and traversed the arduous space between the couch and the fridge, after which my machinations took shape once I'd polished off some delicious Sprunk. Ahem...

First thing is you start with a Nerf gun (or more as the case may be). You then have to take them apart so that you can see where you have to spray.


When spraying (I used Citadel Chaos Black spray) make sure that you get in all the nooks and crannies but not on any slides/frictive surfaces. This means spraying a single coat and then pulling everything back and spraying it, being sure to get every square inch. Leave them to dry for a couple of hours on a hook/peg/washing line/narcoleptic sloth.


Once they're dry the plan is to drybrush them (see my Terrain Boards Pt 4 tutorial for a guide). I used a rather large brush (about 1" [25mm] across), making it much faster to complete than you might think (a couple of hours it took me). I used a 'Tinbitz' metallic (I think) to paint the body, 'Chainmail' metallic to paint the barrels/detail and 'Burnished Gold' metallic for writing/crests. I built up a few layers of drybrushing and it turned out really nicely (just make sure you drybrush in all the corners [there are many]).

Here is a pic after the first round of drybrushing


The finished beasties (that said I'd like to add some brass engraved plates, copper tubes etc. but I wanted to make sure they still worked well and weren't just ornaments):


I couldn't help it...


I'd like to Steampunk some more items but with 1001 projects on my hands we'll see how that goes. Please feel free to comment and suggest Steampunk'able items or to add links to other cool Steampunk stuff, like this.

PLEASE NOTE: In no way do I endorse nor take responsiblity for any mods you make to any 'Nerf' brand foam projectile launchers and so on and so forth. On the side of each toy it says 'Do not modify darts or dart blaster'. You have been warned. Oh, and apparently if you live in the USA you should make sure that the tip of the barrel remains bright orange - something to do with legalities and safety etc. But then you wouldn't modify a 'Nerf' dart blaster, would you?

Cheers!

Tuesday, January 18, 2011

Terrain Boards Pt 1 - Getting started


Introduction


So you've spent a tonne of time painting an army, hundreds of dollars of miniatures that have been painted and are resplendent with detail. It stands to reason that you should have a lovely battlefield upon which to wage a holy war or a bloodthirsty onslaught. Terrain and games boards are underrated, they really add detail and interest - you've spent so long building and painting a host, it makes sense that they get to play on a sweet battlefield.

There are many methods available to make terrain suitable for tabletop gaming which, depending upon the application, can be great to look at but not easy to work with, or good to work on and look at but very expensive and inflexible. With this in mind the method proposed in this tutorial is based around price, flexibility, simplicity and good aesthetic.


What you'll need

The great thing about this method is the average price, depending on how much you want to spend you can have each game board for around $10. The examples shown in this tutorial were cheap as chips and look great (in my humble opinion). Anyway, back to what you'll need:

PVA Glue (don't buy PVA from specialist suppliers, get the stuff from your local hardware store [they're exactly the same])
Chipboard sheets (the size depends on what you want, the ones used in this tutorial [900 x 450 x 12mm {3' x 1.5' x 1/2"}] are available from most hardware stores pre cut and can be arranged together to make larger boards easily)
A larger, used paintbrush
Plaster or Filler (cheap wood filler is great, tough, fast setting and easily mouldable)
Rocks and/or Gravel
Lots of Cardboard (different thicknesses are handy)
Paint
Newspaper (put it under boards you're working on to protect furniture and floors from glue, plaster, paint and the inevitable crud that comes with terrain making)
Stanley/Modelling Knife and Scissors(kitchen shears are the best)
Undercoat spray paint (make sure it's matt spray, not gloss)
Flock, polystyrene, static grass, barrels, walls, barricades or anything else you'd like to add


Getting started

First of all you should have a good work area that isn't in the way and try to make sure it has good circulation (all the different things you'll be using tend to smell when they dry, it's always good to have fresh air when working with glues/paints/solvents etc.). You'll also need somewhere outside that you can spray undercoat each of the boards and you'll need to leave them there to dry.


Once you've set up your work area you can get started. There are a few things you should keep in mind when making your boards -

Storage - How and where are you going to store them? Do you have enough room?

Size - How big do you want them to be, how many will you have, what configurations might you use?

Height
- This relates to storage and strength, if you make tall boards they'll be hard to stack on smaller/tighter shelves. Taller terrain will also break more easily, so its better to make tall terrain items separately (this also aids in flexibility re: desired placement on the battlefield).

Tightness of terrain
- How close do you want difficult ground to be together? Too close and it could makes bigger games difficult, for my boards I've put them mostly in the corners and have limited them to one terrain item per board (this means you can turn them around to make central areas with lots of terrain, evenly dispersed terrain items or a wide plain/valley for bigger pitched battles).

Theme
- Boards tend to go together in themed sets, i.e. one particular style of terrain and colour scheme for each set of boards. With this in mind you should choose what style you want before you begin and perhaps try making a small terrain item (a hill, rocky cairn etc.) in said style to see if you like it. The ones in this tutorial are old, bluish, stony battlegrounds with tufts of life clinging to what little arable soil there is. You could do something similar or completely different - lush green pastures with hedgerows, a marsh with rushes and waterlife, snowy drifts criss crossed with lava streams, the mortar scarred remains of a distant planet, a barren desert...the only limit is your imagination.

When you've get everything you need and a place to work you can start Part 2 and begin putting it all together.

Terrain Boards Pt 2 - Laying the foundations

Laying the Foundations

You can buy ruins and the like from game suppliers but they're usually only a couple of millimetres thick, expensive and need to be based and painted anyway. Using cardboard and old packaging (which is easy to find and plentiful) you can make almost anything for next to nothing. You're also doing the environment a favour by recycling materials rather than using new plastic ones, though adding bought items is easy and can add items of interest to your board.


Now that you've got your work area set up you can cut your cardboard to make any shape. The board made in this tutorial has a crumbled tower made from cardboard, gravel and an old terrain wall that I had lying around. There is also a low stone wall (made from gravel) and some reeds surrounded by rocks (made from some broom bristles and gravel). When you're putting together all these items make sure that you use plenty of PVA, make sure it fills all the cracks and give it a while to set in place (a couple of hours or so in a warm room will do). This ensures that everything sticks like proverbial and therefore, hopefully, nothing will fall off and your boards will survive a few knocks. Just make sure that there isn't a tonne of PVA in blobs (unless this is a deliberate measure, blobs and drips of PVA make for great blood/alien goo etc.), it's quite noticeable in the final product (unless you go over it with plaster/filler, but try to avoid having to rely on fixing mistakes by covering over them).


This is what my crumbled tower and rock wall looked like about 15 minutes after everything was in place.


Note liberal use of PVA. You'll find it'll stick better if you 'rub' the two pieces of cardboard together, ensuring an even and complete cover of glue. Also, try to glue rocks to more than one thing, they're heavier and the more glued contact points the stronger the bond will be. If you want to have any items of interest that look submerged (half a tank, a skeleton, half buried armour, pikes/spears etc.) now is a good time. If you want to make a wooden pole fence you can drill a few shallow holes for your 'fence posts' (I use bamboo skewers) then glue and slot them in, the same goes for pikes coming out of the ground (having a shallow hole [4-5mm or 1/5"] also helps them to stay in play far better than if you only glue them to the surface).


These are the reeds surrounded by rocks. Just make sure you use an old broom/brush for this as cutting into your wife/girlfriend/Mum/Dad/housemate's new broom could be physically perilous.


The layout of the board.


Some time later...

Now that all the glue is dry this is what it looks like. Once it's all dry you can move on to applying filler/plaster.


After a couple of hours you can commence with Part 3, Getting some texture.

Terrain Boards Pt 3 - Getting some texture

Getting some texture

Now that the everything is set in place you can apply filler/plaster to give everything texture, cover over mistakes and provide extra adhesion. When buying your filler/plaster try to go for the bigger, cheaper wood fillers. They tend to be much stronger than plaster and once dry go quite hard, not to mention that filler tends to take on shapes easier than plaster due to it's thicker consistency. You'll also use quite a lot of it - for three boards (the three shown at the end of this tutorial) I used an entire tube, which cost about $12.

Anyway, to apply the filler just use pieces of thick, stiff cut cardboard (I cut mine around 150 x 90mm [5" x 3"]). You'll need plenty of applicators so cut a few for each board you're going to do. Squeeze out of the tube and straight on to the applicator and then use the applicator like a spatula - work the filler into the board and the cardboard, filling every crack. This will make it stick all the better and add further strength to each structure. Once you've done this you can use an applicator, or anything for that matter, to give texture to the surface. You could stipple the surface, drag lightly along it, stab it with skewers, mould it into shapes - the choice is yours.

NOTE: Be careful not to make the filler structural or too thick, use cardboard and other items to build shapes and then use the filler to give it texture. Try not to make filler/plaster more than 8mm (1/3") thick.


WARNING: If you've used polystyrene ('foam') to make any of this terrain be sure to make sure that it's completely covered in filler. Spray paints usually eat/melt this foam but as long as it has a layer of something over it it'll be fine. You were warned!

Here is how the board looked after I'd applied some filler. It's great stuff to use and dries hard, leaving a good surface to play on. After applying the filler leave it overnight to dry, you want to make sure that it's fully set before you work with it.


To get this effect on the filler I dragged an applicator along the surface, giving a flat surface with gaps between that look like eroded stone. You can apply all manner of different textures using household items (sponges, skewers, spatulas, modelling tools and anything with an interesting texture are all recommended) and the filler usually cleans off pretty easily with some water.


You can see that I've also smeared random filler across parts of the board. This helps to give some extra texture to the board and helps it to look more 3D, rather than just being flat. You can use cardboard to put up gentle hills and slightly raised ground, then use filler to make it smoother and more realistic later aswell, if you like.


Once the filler has set you can add an extra layer of filler if you need to, again make sure that you work it in to the surface so that it sticks well and don't make it too thick. It's better to have fairly thin layers and use more cardboard (as it's free, light and should form the bulk of any structure/hill/raised structure).

Another thing you might like to do is paint parts of the board with PVA and then pour sand on them. This is another great way to give the board/terrain items texture and is super cheap (go to the beach and take a small plastic container, simple). Something else you can do is mix different grades (re: size and texture) of sand/gravel together and pour them onto the glue at the same time - this makes for a more random sort of texture (I'll show you this method in a future tutorial).

When you're ready you can move on to Part 4, Adding some colour.

Terrain Boards Pt 4 - Adding some colour


Laying a base colour


Now that everything is dry you can start painting. But before you whip out the paintbrush you'll need to undercoat the board. You can use a brush to do this but spraying the undercoat on is a much better option - it dries faster, gets into the cracks easier and doesn't obscure detail (unless you seriously mess it up). With this in mind you should make sure that you use a matte/flat finish spray, not gloss. A gloss undercoat will look terrible and be difficult to work with, with the exception of terrain items that you want to have a gloss finish (e.g. windows, orbs, shiny buildings etc.). In these cases you should use masking tape to mask off areas that you don't want to be painted.

Another thing you have to consider is the colour of the undercoat. In the boards in this tutorial I've used a matte black undercoat, which is great for 90% of terrain, but you could use green if you want fields (over which you'd put flock [fake grass]), white for snowdrifts which you could then put a wash over (for depth) and then cover it with a coat of 40% PVA to 60% Water (to leave it shiny and protected), burgundy for a martian surface or for land near to a vortex/chaos gate/red food dye factory, and so on.


Washing VS Highlighting

There are many methods that you can use to give depth to the surface, though typically it's easier to use one of two methods - washing or highlighting. Using washes you start off with a lighter tinted undercoat and then apply a wash. Once this is dry you drybrush a highlight colour and viola, you're done. The highlighting method (the one shown in this tutorial and my preferred method) you start with a dark base and then build up a fews layers of highlights by drybrushing. The highlighting method tends to work better as the dark corners are really dark and you then just build on it, applying several layers using less paint for each successive layer. You can then use washes for select points of interest, if you like. This way you get more depth and don't have to wash entire boards just to get dark spots. That said use whatever method works for you, but I would suggest that you try the highlighting method first.


What paint?

As for paint you can use whatever you like, but I'd recommend buying some sample pots of the colours you want to use from your local paint or hardware store. They're usually around $6 and are around 250-400ml - far cheaper than using specialist miniature paints (though these are great for smaller details such as a marble or granite effect, war debris, weapons and armour rusting from an old war etc.). This much paint should last you quite a while, using the method here one pot should last me around 50 boards (which would be an impressive sight to behold). The paints I used in this tutorial are - matte black spray, shadow grey (a bluish dark grey), fortress grey (a brightish grey) and skull white (pure white, only used in very small amounts). If you've got the specialist miniature paints in the right colour you can take them down to your local paint supplier and they should be able to colour match it for you. The resulting paint isn't really good for miniature painting but it works great for bases, terrain and boards. NB: The images supplied of paints are only for illustrative purposes as they are easier to photograph than bigger paint pots.


Drybrushing (aka your new best friend)


Drybrushing is a really simple method of applying detail to textured surfaces and was probably one of the first methods you learned painting miniatures. It is fast, uses a small amount of paint and leaves a great finish when layered correctly. To drybrush you have to do a couple of things -

Wipe paint off the brush!
- Keep getting rid of paint off the brush until you don't leave obvious streaks of paint anymore. Most newbies 'load up' their brush (the term for putting paint on a brush) and then only wipe off a little paint. This results in a far too heavy coat, a complete lack of detail and far less highlighting. The key is to start small - load a little bit of paint onto your brush and then wipe if off until you can't see any more paint coming off. Then drag the brush lightly over a textured surface, only letting it touchs the ridges/raised areas. You'll see that paint still comes off on the undercoat and leaves raised areas highlighted. Once you've gotten comfortable you can put slightly more paint on the brush and apply more pressure, perhaps even stippling the surface. It's easy to build up more highlights but it's hard to undo them. Start slowly.


Build up layers - For the boards in this tutorial I've used four layers (base black, base colour drybrush, first highlight, final highlight), which gives a great effect. You can adjust the number of layers as you please, but I find four to be the best compromise. The base colour drybrush should be fairly broad in coverage - this gives the board it's dominant colour so its applied fairly liberally. Each successive layer after this should you far less paint with the final layer just highlighting the utmost raised areas (i.e. corners of buildings, big rocks, high points etc.).


The images above and below have been highlighted/drybrushed once in most areas (that look more blue) and twice in some (which look greyer and have greater depth.


The images below show the final, fully painted game board. You can add or subtract a layer of highlighting as you please, but again I find 4 layers to be the best compromise.


Once dry you should have a board that looks great and is ready to play on. However, some extra detail can make it look great and really adds depth to the final boards. Part 5 - Details, Details, explores this.