Showing posts with label epic. Show all posts

Tuesday, January 18, 2011

Terrain Boards Pt 1 - Getting started


Introduction


So you've spent a tonne of time painting an army, hundreds of dollars of miniatures that have been painted and are resplendent with detail. It stands to reason that you should have a lovely battlefield upon which to wage a holy war or a bloodthirsty onslaught. Terrain and games boards are underrated, they really add detail and interest - you've spent so long building and painting a host, it makes sense that they get to play on a sweet battlefield.

There are many methods available to make terrain suitable for tabletop gaming which, depending upon the application, can be great to look at but not easy to work with, or good to work on and look at but very expensive and inflexible. With this in mind the method proposed in this tutorial is based around price, flexibility, simplicity and good aesthetic.


What you'll need

The great thing about this method is the average price, depending on how much you want to spend you can have each game board for around $10. The examples shown in this tutorial were cheap as chips and look great (in my humble opinion). Anyway, back to what you'll need:

PVA Glue (don't buy PVA from specialist suppliers, get the stuff from your local hardware store [they're exactly the same])
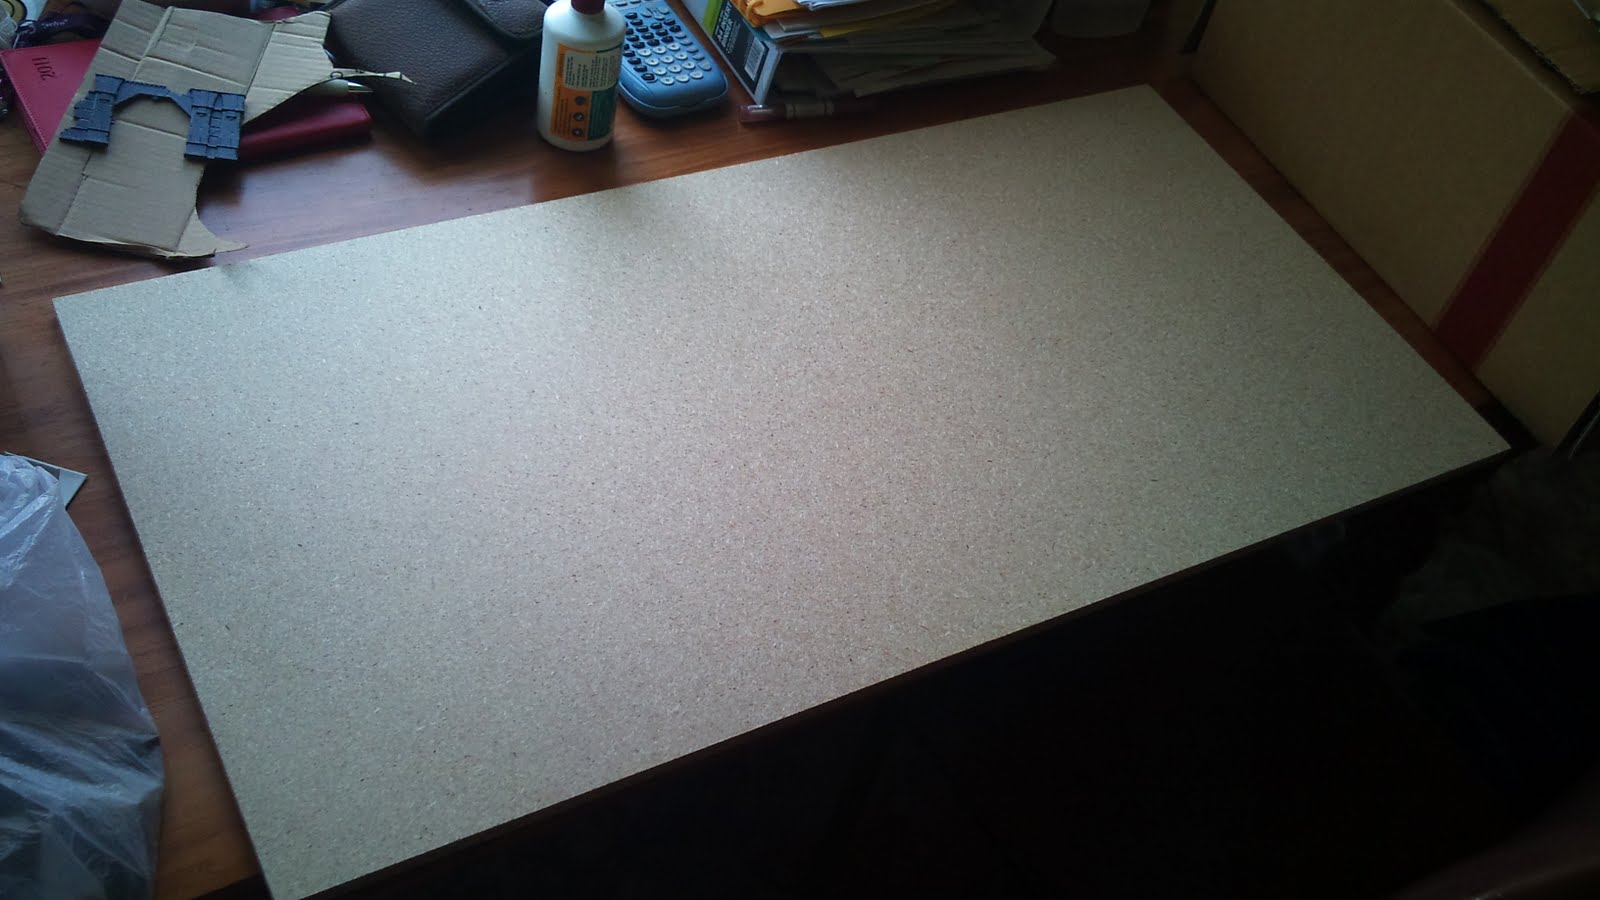
Chipboard sheets (the size depends on what you want, the ones used in this tutorial [900 x 450 x 12mm {3' x 1.5' x 1/2"}] are available from most hardware stores pre cut and can be arranged together to make larger boards easily)
A larger, used paintbrush
Plaster or Filler (cheap wood filler is great, tough, fast setting and easily mouldable)
Rocks and/or Gravel
Lots of Cardboard (different thicknesses are handy)
Paint
Newspaper (put it under boards you're working on to protect furniture and floors from glue, plaster, paint and the inevitable crud that comes with terrain making)
Stanley/Modelling Knife and Scissors(kitchen shears are the best)
Undercoat spray paint (make sure it's matt spray, not gloss)
Flock, polystyrene, static grass, barrels, walls, barricades or anything else you'd like to add


Getting started

First of all you should have a good work area that isn't in the way and try to make sure it has good circulation (all the different things you'll be using tend to smell when they dry, it's always good to have fresh air when working with glues/paints/solvents etc.). You'll also need somewhere outside that you can spray undercoat each of the boards and you'll need to leave them there to dry.


Once you've set up your work area you can get started. There are a few things you should keep in mind when making your boards -

Storage - How and where are you going to store them? Do you have enough room?

Size - How big do you want them to be, how many will you have, what configurations might you use?

Height
- This relates to storage and strength, if you make tall boards they'll be hard to stack on smaller/tighter shelves. Taller terrain will also break more easily, so its better to make tall terrain items separately (this also aids in flexibility re: desired placement on the battlefield).

Tightness of terrain
- How close do you want difficult ground to be together? Too close and it could makes bigger games difficult, for my boards I've put them mostly in the corners and have limited them to one terrain item per board (this means you can turn them around to make central areas with lots of terrain, evenly dispersed terrain items or a wide plain/valley for bigger pitched battles).

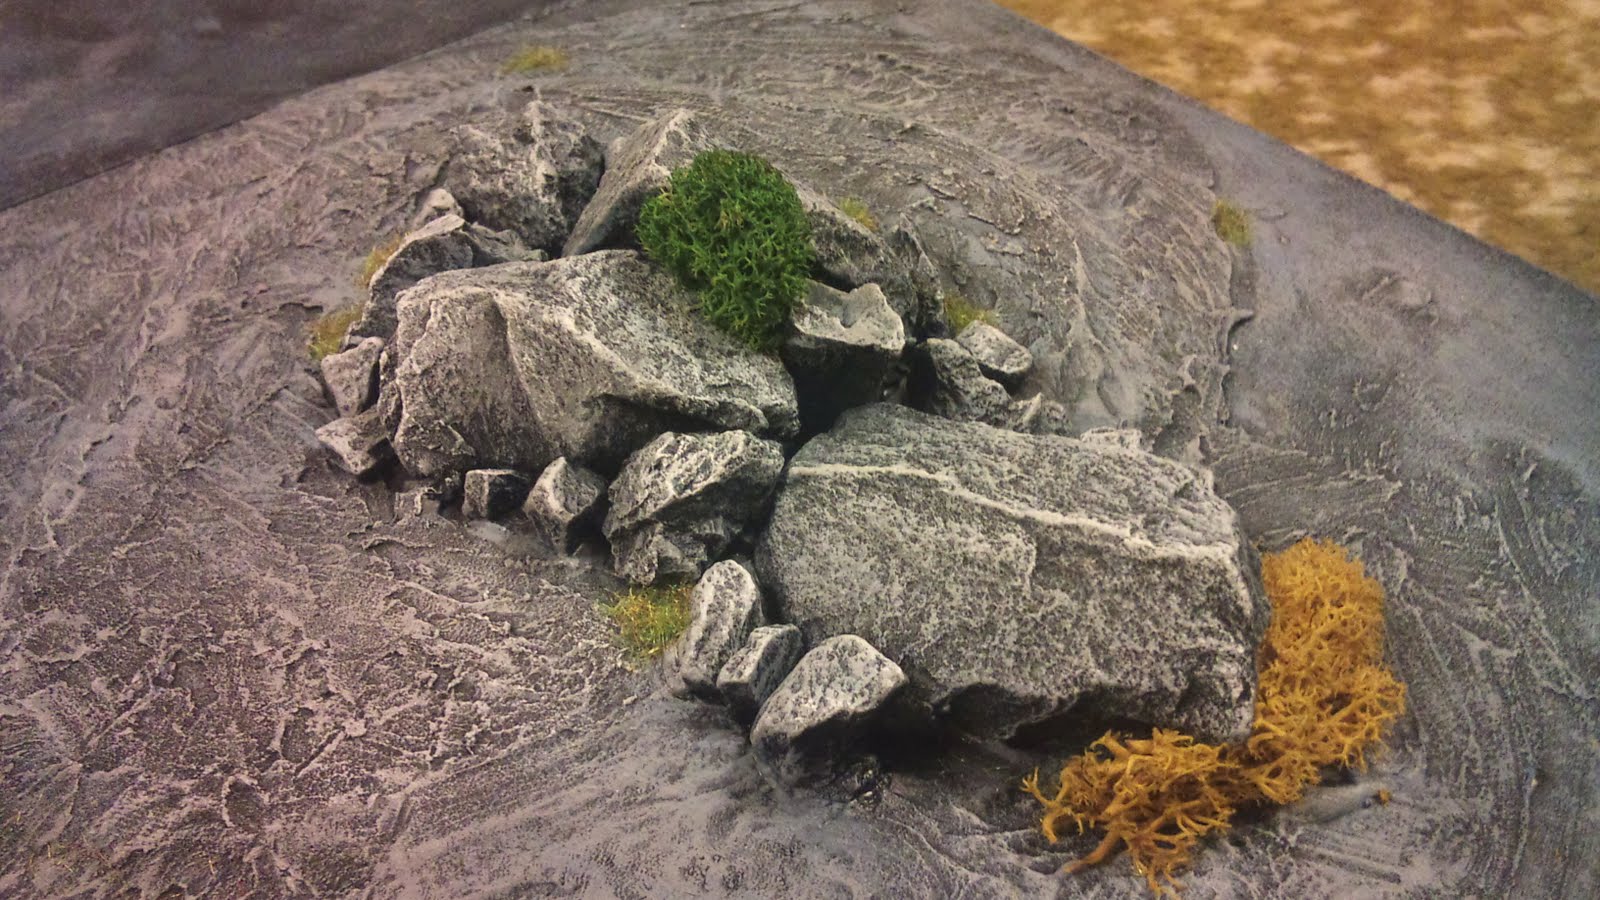
Theme
- Boards tend to go together in themed sets, i.e. one particular style of terrain and colour scheme for each set of boards. With this in mind you should choose what style you want before you begin and perhaps try making a small terrain item (a hill, rocky cairn etc.) in said style to see if you like it. The ones in this tutorial are old, bluish, stony battlegrounds with tufts of life clinging to what little arable soil there is. You could do something similar or completely different - lush green pastures with hedgerows, a marsh with rushes and waterlife, snowy drifts criss crossed with lava streams, the mortar scarred remains of a distant planet, a barren desert...the only limit is your imagination.

When you've get everything you need and a place to work you can start Part 2 and begin putting it all together.

Terrain Boards Pt 2 - Laying the foundations

Laying the Foundations

You can buy ruins and the like from game suppliers but they're usually only a couple of millimetres thick, expensive and need to be based and painted anyway. Using cardboard and old packaging (which is easy to find and plentiful) you can make almost anything for next to nothing. You're also doing the environment a favour by recycling materials rather than using new plastic ones, though adding bought items is easy and can add items of interest to your board.


Now that you've got your work area set up you can cut your cardboard to make any shape. The board made in this tutorial has a crumbled tower made from cardboard, gravel and an old terrain wall that I had lying around. There is also a low stone wall (made from gravel) and some reeds surrounded by rocks (made from some broom bristles and gravel). When you're putting together all these items make sure that you use plenty of PVA, make sure it fills all the cracks and give it a while to set in place (a couple of hours or so in a warm room will do). This ensures that everything sticks like proverbial and therefore, hopefully, nothing will fall off and your boards will survive a few knocks. Just make sure that there isn't a tonne of PVA in blobs (unless this is a deliberate measure, blobs and drips of PVA make for great blood/alien goo etc.), it's quite noticeable in the final product (unless you go over it with plaster/filler, but try to avoid having to rely on fixing mistakes by covering over them).


This is what my crumbled tower and rock wall looked like about 15 minutes after everything was in place.


Note liberal use of PVA. You'll find it'll stick better if you 'rub' the two pieces of cardboard together, ensuring an even and complete cover of glue. Also, try to glue rocks to more than one thing, they're heavier and the more glued contact points the stronger the bond will be. If you want to have any items of interest that look submerged (half a tank, a skeleton, half buried armour, pikes/spears etc.) now is a good time. If you want to make a wooden pole fence you can drill a few shallow holes for your 'fence posts' (I use bamboo skewers) then glue and slot them in, the same goes for pikes coming out of the ground (having a shallow hole [4-5mm or 1/5"] also helps them to stay in play far better than if you only glue them to the surface).


These are the reeds surrounded by rocks. Just make sure you use an old broom/brush for this as cutting into your wife/girlfriend/Mum/Dad/housemate's new broom could be physically perilous.


The layout of the board.


Some time later...

Now that all the glue is dry this is what it looks like. Once it's all dry you can move on to applying filler/plaster.


After a couple of hours you can commence with Part 3, Getting some texture.

Terrain Boards Pt 3 - Getting some texture

Getting some texture

Now that the everything is set in place you can apply filler/plaster to give everything texture, cover over mistakes and provide extra adhesion. When buying your filler/plaster try to go for the bigger, cheaper wood fillers. They tend to be much stronger than plaster and once dry go quite hard, not to mention that filler tends to take on shapes easier than plaster due to it's thicker consistency. You'll also use quite a lot of it - for three boards (the three shown at the end of this tutorial) I used an entire tube, which cost about $12.

Anyway, to apply the filler just use pieces of thick, stiff cut cardboard (I cut mine around 150 x 90mm [5" x 3"]). You'll need plenty of applicators so cut a few for each board you're going to do. Squeeze out of the tube and straight on to the applicator and then use the applicator like a spatula - work the filler into the board and the cardboard, filling every crack. This will make it stick all the better and add further strength to each structure. Once you've done this you can use an applicator, or anything for that matter, to give texture to the surface. You could stipple the surface, drag lightly along it, stab it with skewers, mould it into shapes - the choice is yours.

NOTE: Be careful not to make the filler structural or too thick, use cardboard and other items to build shapes and then use the filler to give it texture. Try not to make filler/plaster more than 8mm (1/3") thick.


WARNING: If you've used polystyrene ('foam') to make any of this terrain be sure to make sure that it's completely covered in filler. Spray paints usually eat/melt this foam but as long as it has a layer of something over it it'll be fine. You were warned!

Here is how the board looked after I'd applied some filler. It's great stuff to use and dries hard, leaving a good surface to play on. After applying the filler leave it overnight to dry, you want to make sure that it's fully set before you work with it.


To get this effect on the filler I dragged an applicator along the surface, giving a flat surface with gaps between that look like eroded stone. You can apply all manner of different textures using household items (sponges, skewers, spatulas, modelling tools and anything with an interesting texture are all recommended) and the filler usually cleans off pretty easily with some water.


You can see that I've also smeared random filler across parts of the board. This helps to give some extra texture to the board and helps it to look more 3D, rather than just being flat. You can use cardboard to put up gentle hills and slightly raised ground, then use filler to make it smoother and more realistic later aswell, if you like.


Once the filler has set you can add an extra layer of filler if you need to, again make sure that you work it in to the surface so that it sticks well and don't make it too thick. It's better to have fairly thin layers and use more cardboard (as it's free, light and should form the bulk of any structure/hill/raised structure).

Another thing you might like to do is paint parts of the board with PVA and then pour sand on them. This is another great way to give the board/terrain items texture and is super cheap (go to the beach and take a small plastic container, simple). Something else you can do is mix different grades (re: size and texture) of sand/gravel together and pour them onto the glue at the same time - this makes for a more random sort of texture (I'll show you this method in a future tutorial).

When you're ready you can move on to Part 4, Adding some colour.

Terrain Boards Pt 5 - Details, Details

If you've got a board put together, painted and completed you can now add detail. This can be almost anything - grass, bushes, patches of soil, broken shields, rusted weapons, corpses, skeletons and a thousand other things. In this tutorial I've just added some static grass and a few small bushes. I could've added some more of the aforementioned detail but I want to use this particular terrain with both fantasy and science fiction game systems, so I didn't want to add shields, spears, guns etc. as they wouldn't be suitable for both. As mentioned in Pt 2, you can add submerged/buried items before you undercoat the board and then paint over them once you've finished (half buried vehicles, weapons, barricades and so forth work well), or you can paint items and then glue them on when the board is finished.


Flocking

Flock is any kind of loose artificial grass, soil, gravel or similar that is used in miniature modeling and terrain. In this tutorial I've used static grass/flock, which leaves a great 'fuzzy' 3D grass effect, but you could also use regular flock (usually green coloured bits of sawdust) or in fact anything that leaves you with your desired aesthetic. Miniature specialist stores have many different terrain items and varieties of flock, but I've found that model railway stores have bigger ranges in addition to loads of other terrain items and materials. Either way take a look around and see if you can find examples so that you'll know what they look like.


To apply flock you need only put some PVA in the areas that you want to flock and then sprinkle flock on top. Always put on a little extra to make sure all the gaps are filled. A bit of this will be too much and you can brush/blow it off once the glue dries and over time some flock will naturally come off with wear, but this is nothing to be worried about. Optionally you can tip it off on to a piece of card and reuse it but I don't bother as it is generally messy and difficult.

The photos below are an example of how much I applied to the glue.


Below: Images of the finished flocking after having any excess blown off. There are also images of a couple of matching boards that I've made as part of this set (9 boards in total). A good set of boards can be arranged into many different shapes, widths and lengths - the total area of this set is 9' x 4.5' (2700mm x 1350mm).


The glossy reflection from the river is easy to achieve - make a mix of two parts PVA and one part water and paint over any area you want to make glossy/shiny and then leave to dry. Repeat this process as many times as you like to get a deeper, glossier surface. For this river I used 5 coats, for snow I usually use 1 or 2, for deeper ponds/lakes I usually just pour the PVA/water mix in straight and let it level off. This will provide for a deep, glossy look but will take much longer to dry as it is much thicker. You also have to make sure that the water feature has edges at you'll need to contain the mix and make sure it doesn't spill out.


Above: The collapsed mine is the corner off of a packing crate that has been cut, PVA glued, rendered and painted like the rest of the boards. Be mindful that PVA'd polystyrene takes longer to dry than cardboard, so in order for it to adhere properly it's best to leave it overnight. The jagged steps attached to the left of it are rendered cardboard and a few select stones.


Once it's all dry and you've removed the excess you're ready to play. When stored try to keep the boards in a cupboard/behind a screen/under a sheet, so as to avoid gathering dust, and store out of direct sunlight as the boards will tend to discolour. You could also apply a coat of matt varnish but I find it to be expensive and it ruins the look of the boards by leaving a slight sheen.

I hope you've enjoyed this tutorial, please comment and let me know what you thought. If you've got any requests for tutorials let me know aswell, I'm always happy to make more terrain and show you all how.

Cheers!