Flocking
Flock is any kind of loose artificial grass, soil, gravel or similar that is used in miniature modeling and terrain. In this tutorial I've used static grass/flock, which leaves a great 'fuzzy' 3D grass effect, but you could also use regular flock (usually green coloured bits of sawdust) or in fact anything that leaves you with your desired aesthetic. Miniature specialist stores have many different terrain items and varieties of flock, but I've found that model railway stores have bigger ranges in addition to loads of other terrain items and materials. Either way take a look around and see if you can find examples so that you'll know what they look like.


To apply flock you need only put some PVA in the areas that you want to flock and then sprinkle flock on top. Always put on a little extra to make sure all the gaps are filled. A bit of this will be too much and you can brush/blow it off once the glue dries and over time some flock will naturally come off with wear, but this is nothing to be worried about. Optionally you can tip it off on to a piece of card and reuse it but I don't bother as it is generally messy and difficult.
The photos below are an example of how much I applied to the glue.


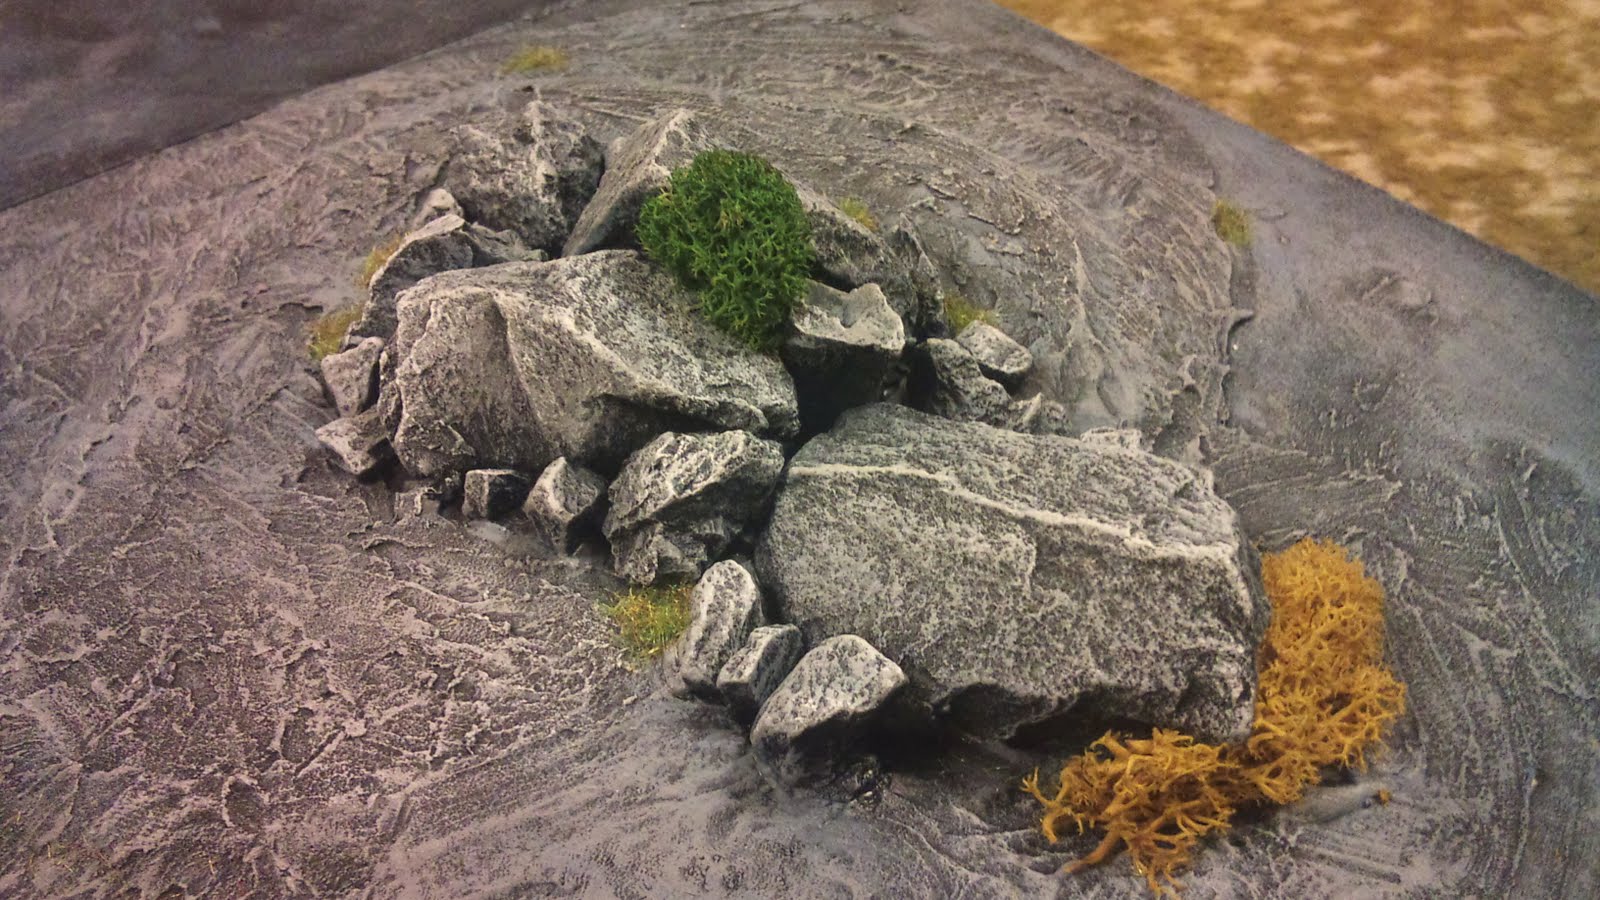
Below: Images of the finished flocking after having any excess blown off. There are also images of a couple of matching boards that I've made as part of this set (9 boards in total). A good set of boards can be arranged into many different shapes, widths and lengths - the total area of this set is 9' x 4.5' (2700mm x 1350mm).

The glossy reflection from the river is easy to achieve - make a mix of two parts PVA and one part water and paint over any area you want to make glossy/shiny and then leave to dry. Repeat this process as many times as you like to get a deeper, glossier surface. For this river I used 5 coats, for snow I usually use 1 or 2, for deeper ponds/lakes I usually just pour the PVA/water mix in straight and let it level off. This will provide for a deep, glossy look but will take much longer to dry as it is much thicker. You also have to make sure that the water feature has edges at you'll need to contain the mix and make sure it doesn't spill out.

Above: The collapsed mine is the corner off of a packing crate that has been cut, PVA glued, rendered and painted like the rest of the boards. Be mindful that PVA'd polystyrene takes longer to dry than cardboard, so in order for it to adhere properly it's best to leave it overnight. The jagged steps attached to the left of it are rendered cardboard and a few select stones.

Once it's all dry and you've removed the excess you're ready to play. When stored try to keep the boards in a cupboard/behind a screen/under a sheet, so as to avoid gathering dust, and store out of direct sunlight as the boards will tend to discolour. You could also apply a coat of matt varnish but I find it to be expensive and it ruins the look of the boards by leaving a slight sheen.
I hope you've enjoyed this tutorial, please comment and let me know what you thought. If you've got any requests for tutorials let me know aswell, I'm always happy to make more terrain and show you all how.
Cheers!
Hey, thanks for the tutorial. Got some great ideas and what order to make it in.
ReplyDeleteI'm hoping to make a 4'-4' board. Ice scape with a mining complex in the centre.
I didn't realize pva would work as a wash over to give it that icy look.
Have you any suggestions that might help.
Thanks Paul
Hi Paul,
ReplyDeleteDepends on what you want to do, really. You could use several layered of built up sand to make snow, don't try to use a single layer as it will clump and be pretty fragile. When you're done paint all the snow blue or grey (depending on your colour palette and preference) and then drybrush it white. Over that put a 70/30 coat of PVA/water to make it glossy and hold it in place. As for the mining complex, use old food cartons, cans, water bottles - whatever really. If it's mass produced, cylindrical or has a geometric shape you can't lose. Bendy straws make great pipes aswell.
Best of luck!
L